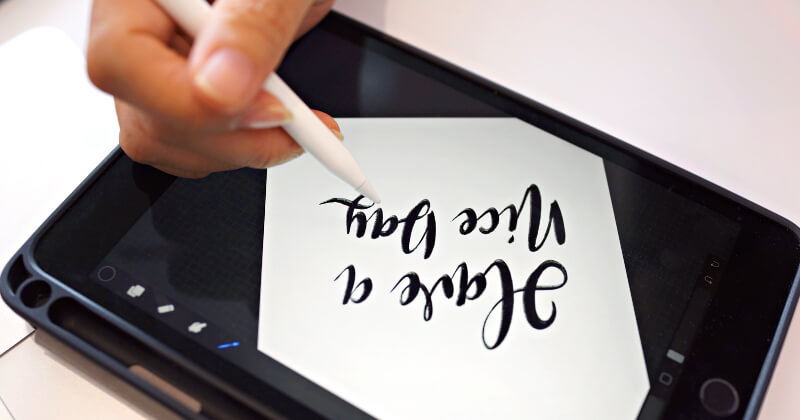
Procreate: The Digital Illustration App
Typically, when I would illustrate, I’d take the traditional route and start sketching on a piece of paper. From there I’d scan my design to my computer, pray that my design is well enough to image trace with zero errors, and even then, I’d have to mess with the digital illustration because it wasn’t cleaned up enough to my liking. Thankfully Procreate helped me shorten my creative process and I’d like to show you a few tips and tricks when it comes to illustrating digitally.
Tip #1: Smooth Sailing with Monolines and Streamlines
When you draw illustrations that are going to be showcased together it’s important to use the monoline pen tool. It also helps if you go into your pen settings and crank up the Streamline to make sure the lines you draw are smooth. Without it, your handshakes will show in your drawing, you’ll get frustrated and possibly walk away from your drawing. We don’t want that. So, change the setting on that brush tool to save yourself from any frustration.
Tip #2: Brainstorm Sketch
Starting off it can be overwhelming to stare at a blank canvas. You know what you have to draw but you’re not too sure where to start. I always find it a lot less stressful to just sketch the first thing that comes to mind. It’s okay to jump around with what you’re drawing or to even trace over an image to get your creative juices going. While you draw your final illustrations always remember that you can make perfect shapes. You can achieve that by drawing that initial shape, with the pen still on the screen, use a free finger to touch the screen to create the perfect shape. The same technique works with making straight lines.
Tip #3: Don’t Use Light Colors for Image Tracing
Now that you have the right brush settings, you’ve brainstormed, you’ve finished your illustrations and can’t wait to transfer them to your computer but wait! If you plan to use image trace in Illustrator on your drawing, make sure your drawings are black and not a color that is too light. Similar to scanning images into your computer, if the color is too light the image trace will not read your illustration correctly. We want as little errors as possible. So, when you are ready, go to Actions> Share> PSD or PNG Files, and airdrop that file to your computer!
Now even if it’s a PSD file you can still open it in Adobe Illustrator, image trace your drawings and you’re pretty much done. You can even go about this the same way by exporting it as a PNG File. Sometimes Illustrator likes to make some of your lines a bit pointier. Depending on how nit-picky you are (like me) you can go in and fix them yourself. It’s all up to preference and the look and feel of the project. The majority of the time there are minimal things you have to adjust.
Tip #4: If It’s Easier to Make in Illustrator, Don’t Draw It
Sometimes, some of the things illustrated don’t show up in the final piece. That’s because there are times I either trash the initial drawing because it’s faster to replicate on Adobe Illustrator. Another reason is that I find out another way to communicate the same illustration in a different way that’s straight forward. Sometimes you don’t have to draw every little thing. You’ll end up wasting time when it’s easier to click a few buttons to create the same thing. Always remember you have other tools and resources to help you along the way.
Hopefully, this helped anyone that was curious about using Procreate as a design tool or just needed a few tips and tricks of the program. If I come across anything else I’ll be sure to let you all know! Thanks for reading.